Explore the demo package
Let's get started
To give you a quick idea of how the Powerhouse ecosystem operates on document models and packages, why don't you try installing a package?
We will show you how to install the Powerhouse command-line tool ph-cmd and then use it to install a pre-built demo package containing a document model, an editor, and a drive app.
Step 1: Install the Powerhouse CLI
You will use the Powerhouse CLI to launch a local environment with a "To-do List Demo Package". This is also the package that you'll recreate during the tutorials and gets you familiar with Powerhouse.
pnpm install -g ph-cmd
Verify the installation:
ph-cmd --version
Step 2: Install the to-do list demo package
Now, use the ph command to install the demo package into a global project.
# Install the package
ph install @powerhousedao/todo-demo-package
This command downloads and sets up the @powerhousedao/todo-demo-package, making its features available in your Powerhouse environment.
Expected CLI result
    installing dependencies 📦 ...
     WARN  19 deprecated subdependencies found: @esbuild-kit/core-utils@3.3.2, @esbuild-kit/esm-loader@2.6.5, @npmcli/move-file@1.1.2, @paulmillr/qr@0.2.1, are-we-there-yet@3.0.1, gauge@4.0.4, glob@7.2.3, graphql-language-service-interface@2.10.2, graphql-language-service-parser@1.10.4, graphql-language-service-types@1.8.7, graphql-language-service-utils@2.7.1, inflight@1.0.6, multibase@4.0.6, multicodec@3.2.1, node-domexception@1.0.0, npmlog@6.0.2, rimraf@2.7.1, rimraf@3.0.2, sudo-prompt@8.2.5
    Packages: +1
    +
    Progress: resolved 2277, reused 2106, downloaded 1, added 1, done
     WARN  Issues with peer dependencies found
    .
    ├─┬ @powerhousedao/reactor-browser 3.1.0
    │ └─┬ @powerhousedao/analytics-engine-browser 0.6.0
    │   └── ✕ unmet peer @powerhousedao/analytics-engine-knex@0.5.1: found 0.6.0
    ├─┬ @types/react-dom 19.1.6
    │ └── ✕ unmet peer @types/react@^19.0.0: found 18.3.23
    └─┬ react-native 0.80.0
    ├── ✕ unmet peer @types/react@^19.1.0: found 18.3.23
    ├── ✕ unmet peer react@^19.1.0: found 18.3.1
    └─┬ @react-native/virtualized-lists 0.80.0
        └── ✕ unmet peer @types/react@^19.0.0: found 18.3.23

    dependencies:
    + @powerhousedao/todo-demo-package 1.1.1

    ╭ Warning ───────────────────────────────────────────────────────────────────────────────────────────────╮
    │                                                                                                        │
    │   Ignored build scripts: @acaldas/graphql-codegen-typescript-validation-schema, @apollo/protobufjs,    │
    │   @datadog/pprof, @ipshipyard/node-datachannel, @parcel/watcher, @prisma/client, @prisma/engines,      │
    │   @tailwindcss/oxide, bufferutil, esbuild, keccak, prisma, sqlite3, utf-8-validate.                    │
    │   Run "pnpm approve-builds" to pick which dependencies should be allowed to run scripts.               │
    │                                                                                                        │
    ╰────────────────────────────────────────────────────────────────────────────────────────────────────────╯

    Done in 6s using pnpm v10.9.0
    Dependency installed successfully 🎉
    ⚙️ Updating powerhouse config file...
    Config file updated successfully 🎉
You have now successfully installed ph-cmd and added your first package!
Step 3: Run the connect app in studio mode
To run the package locally in Connect Studio (our collaboration and contributor app), run:
ph connect
Click the returned localhost URL and you should see Connect Studio appear in your browser.
When you click the settings wheel in the bottom right corner, you'll get access to the Package Manager.
Here, you'll see that you've installed the @powerhousedao/todo-demo-package, which contains not only a Document Model and its accompanying editor but also a Drive App specific to the to-do document model.
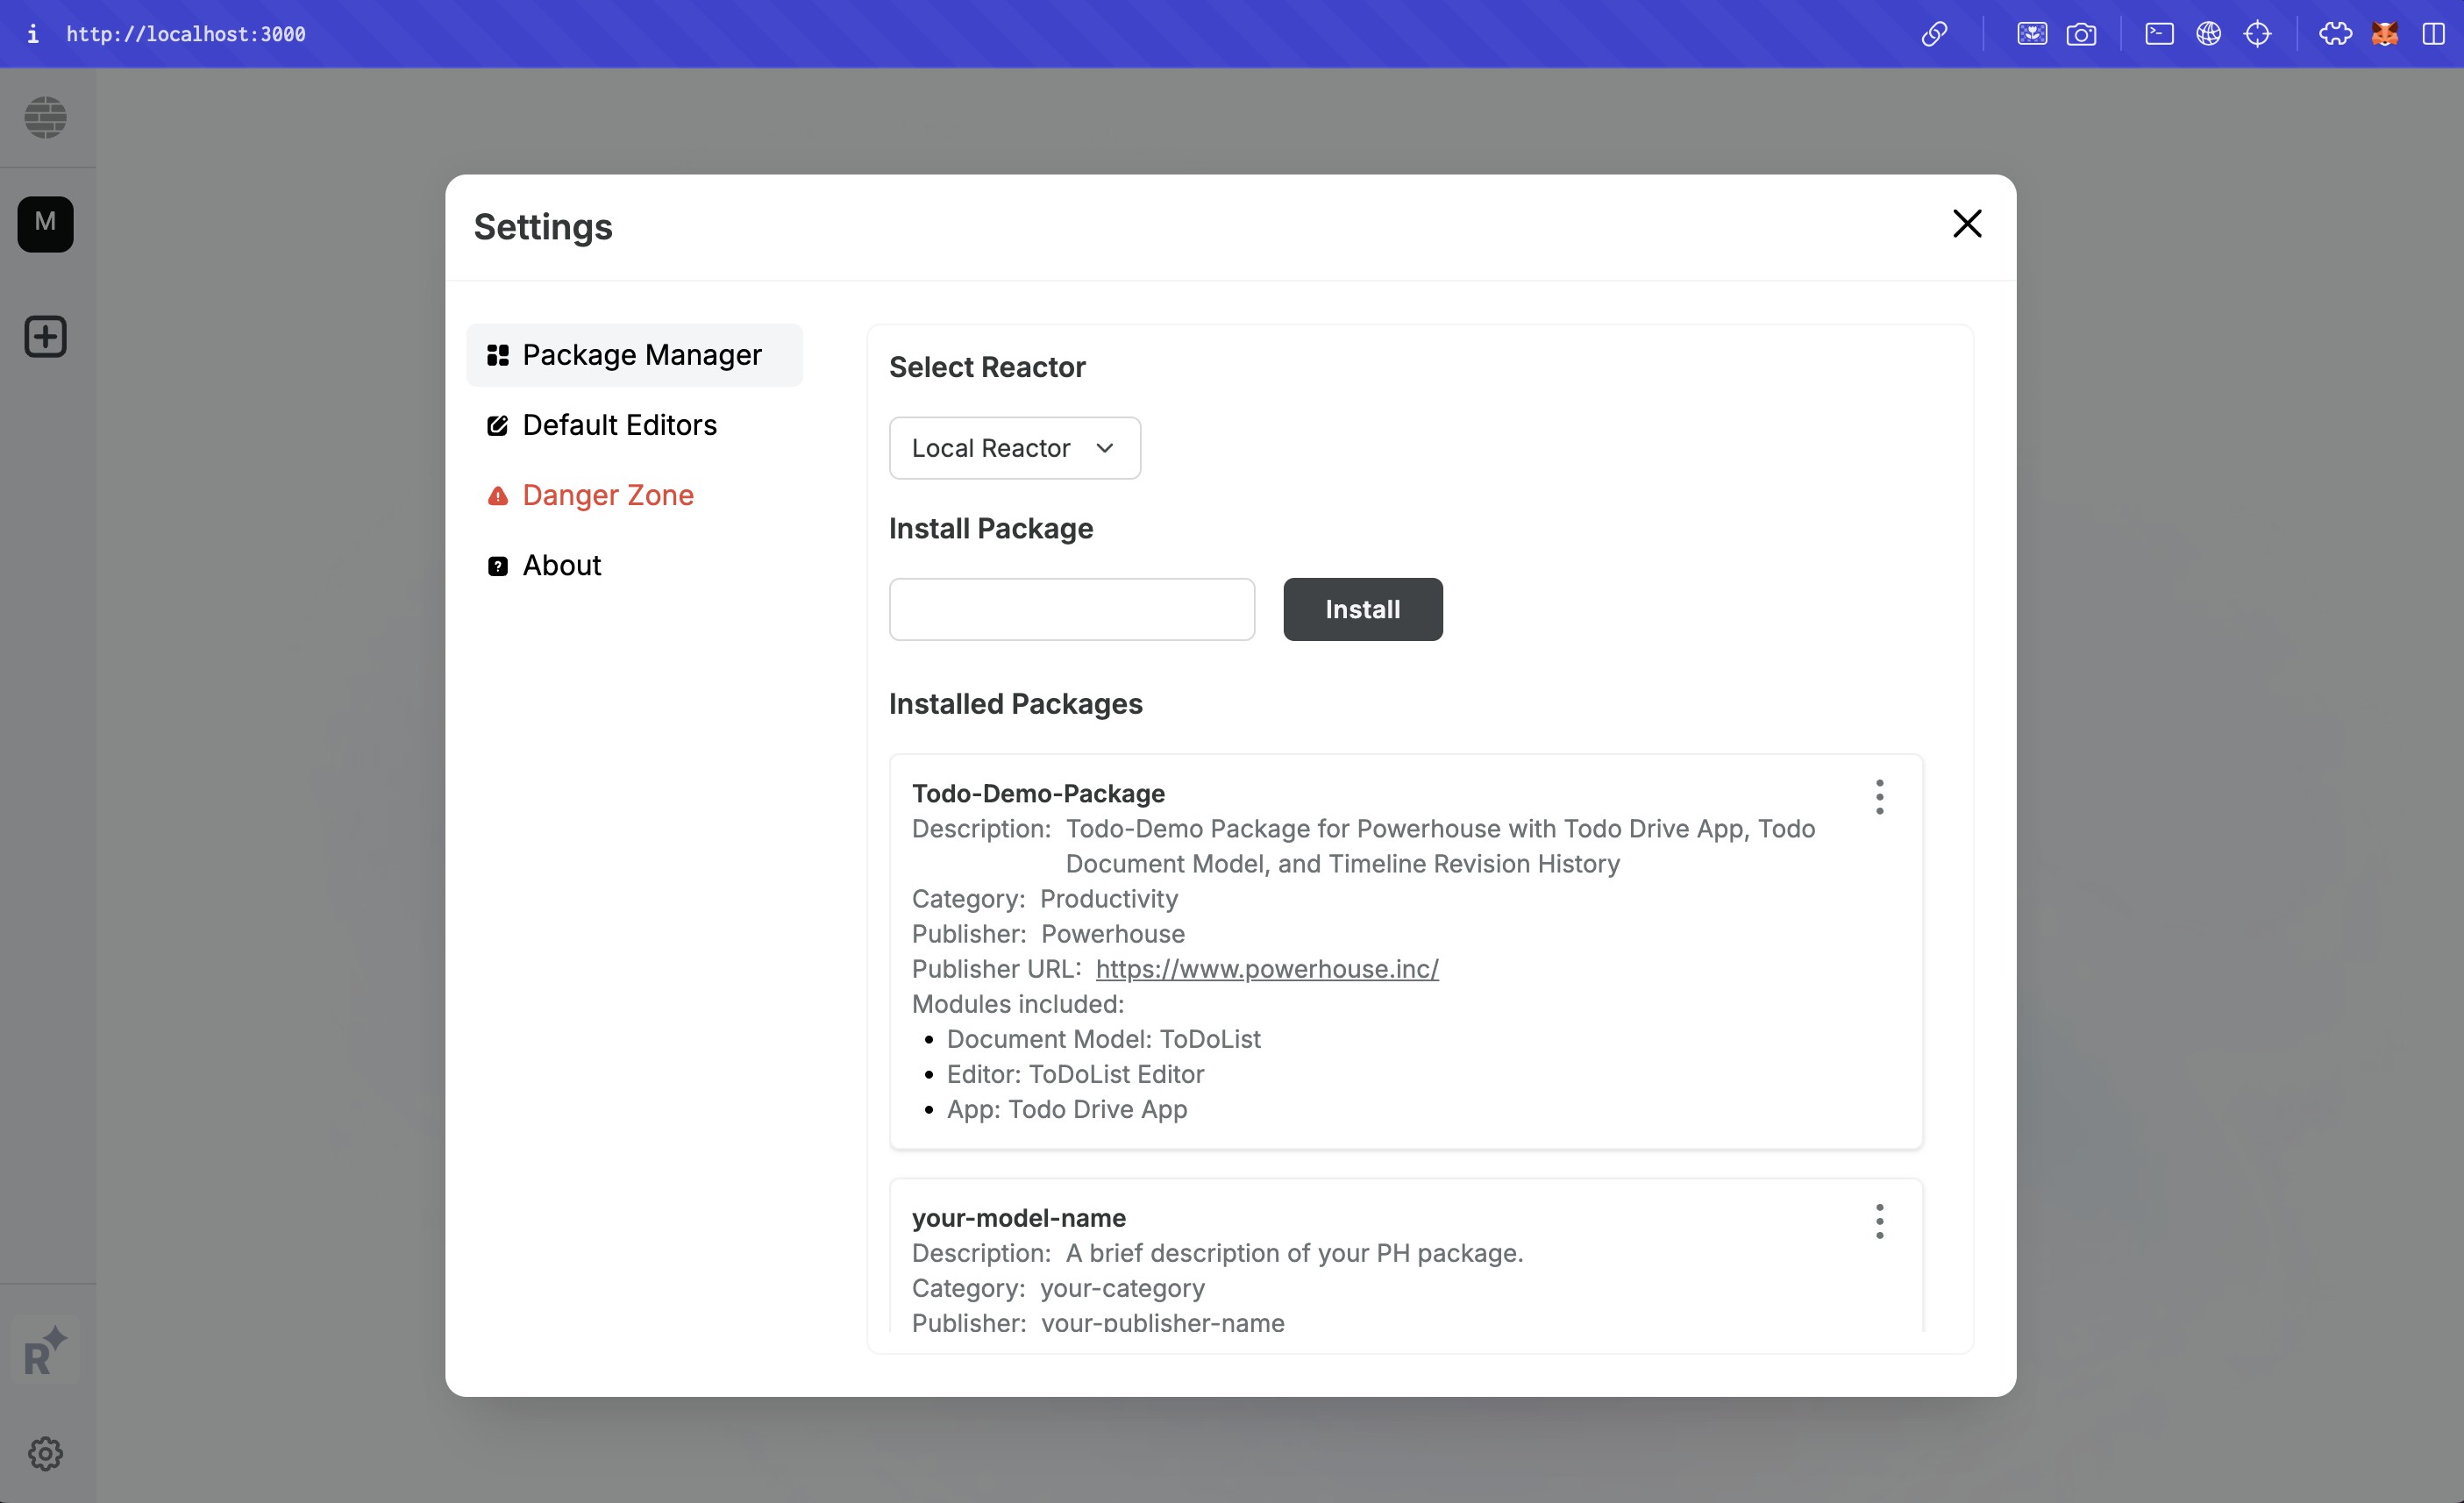
The Package Manager showing the installed todo-demo-package.
Step 4: Create a todo list document
A drive is a folder to store and organize your documents in. Powerhouse offers the ability to build customized 'Drive Apps' for your documents. Think of a Drive App as a specialized lens—it offers different ways to visualize, organize, and interact with the data stored within a drive, making it more intuitive and efficient for specific use cases. To learn more, visit Building A Drive App
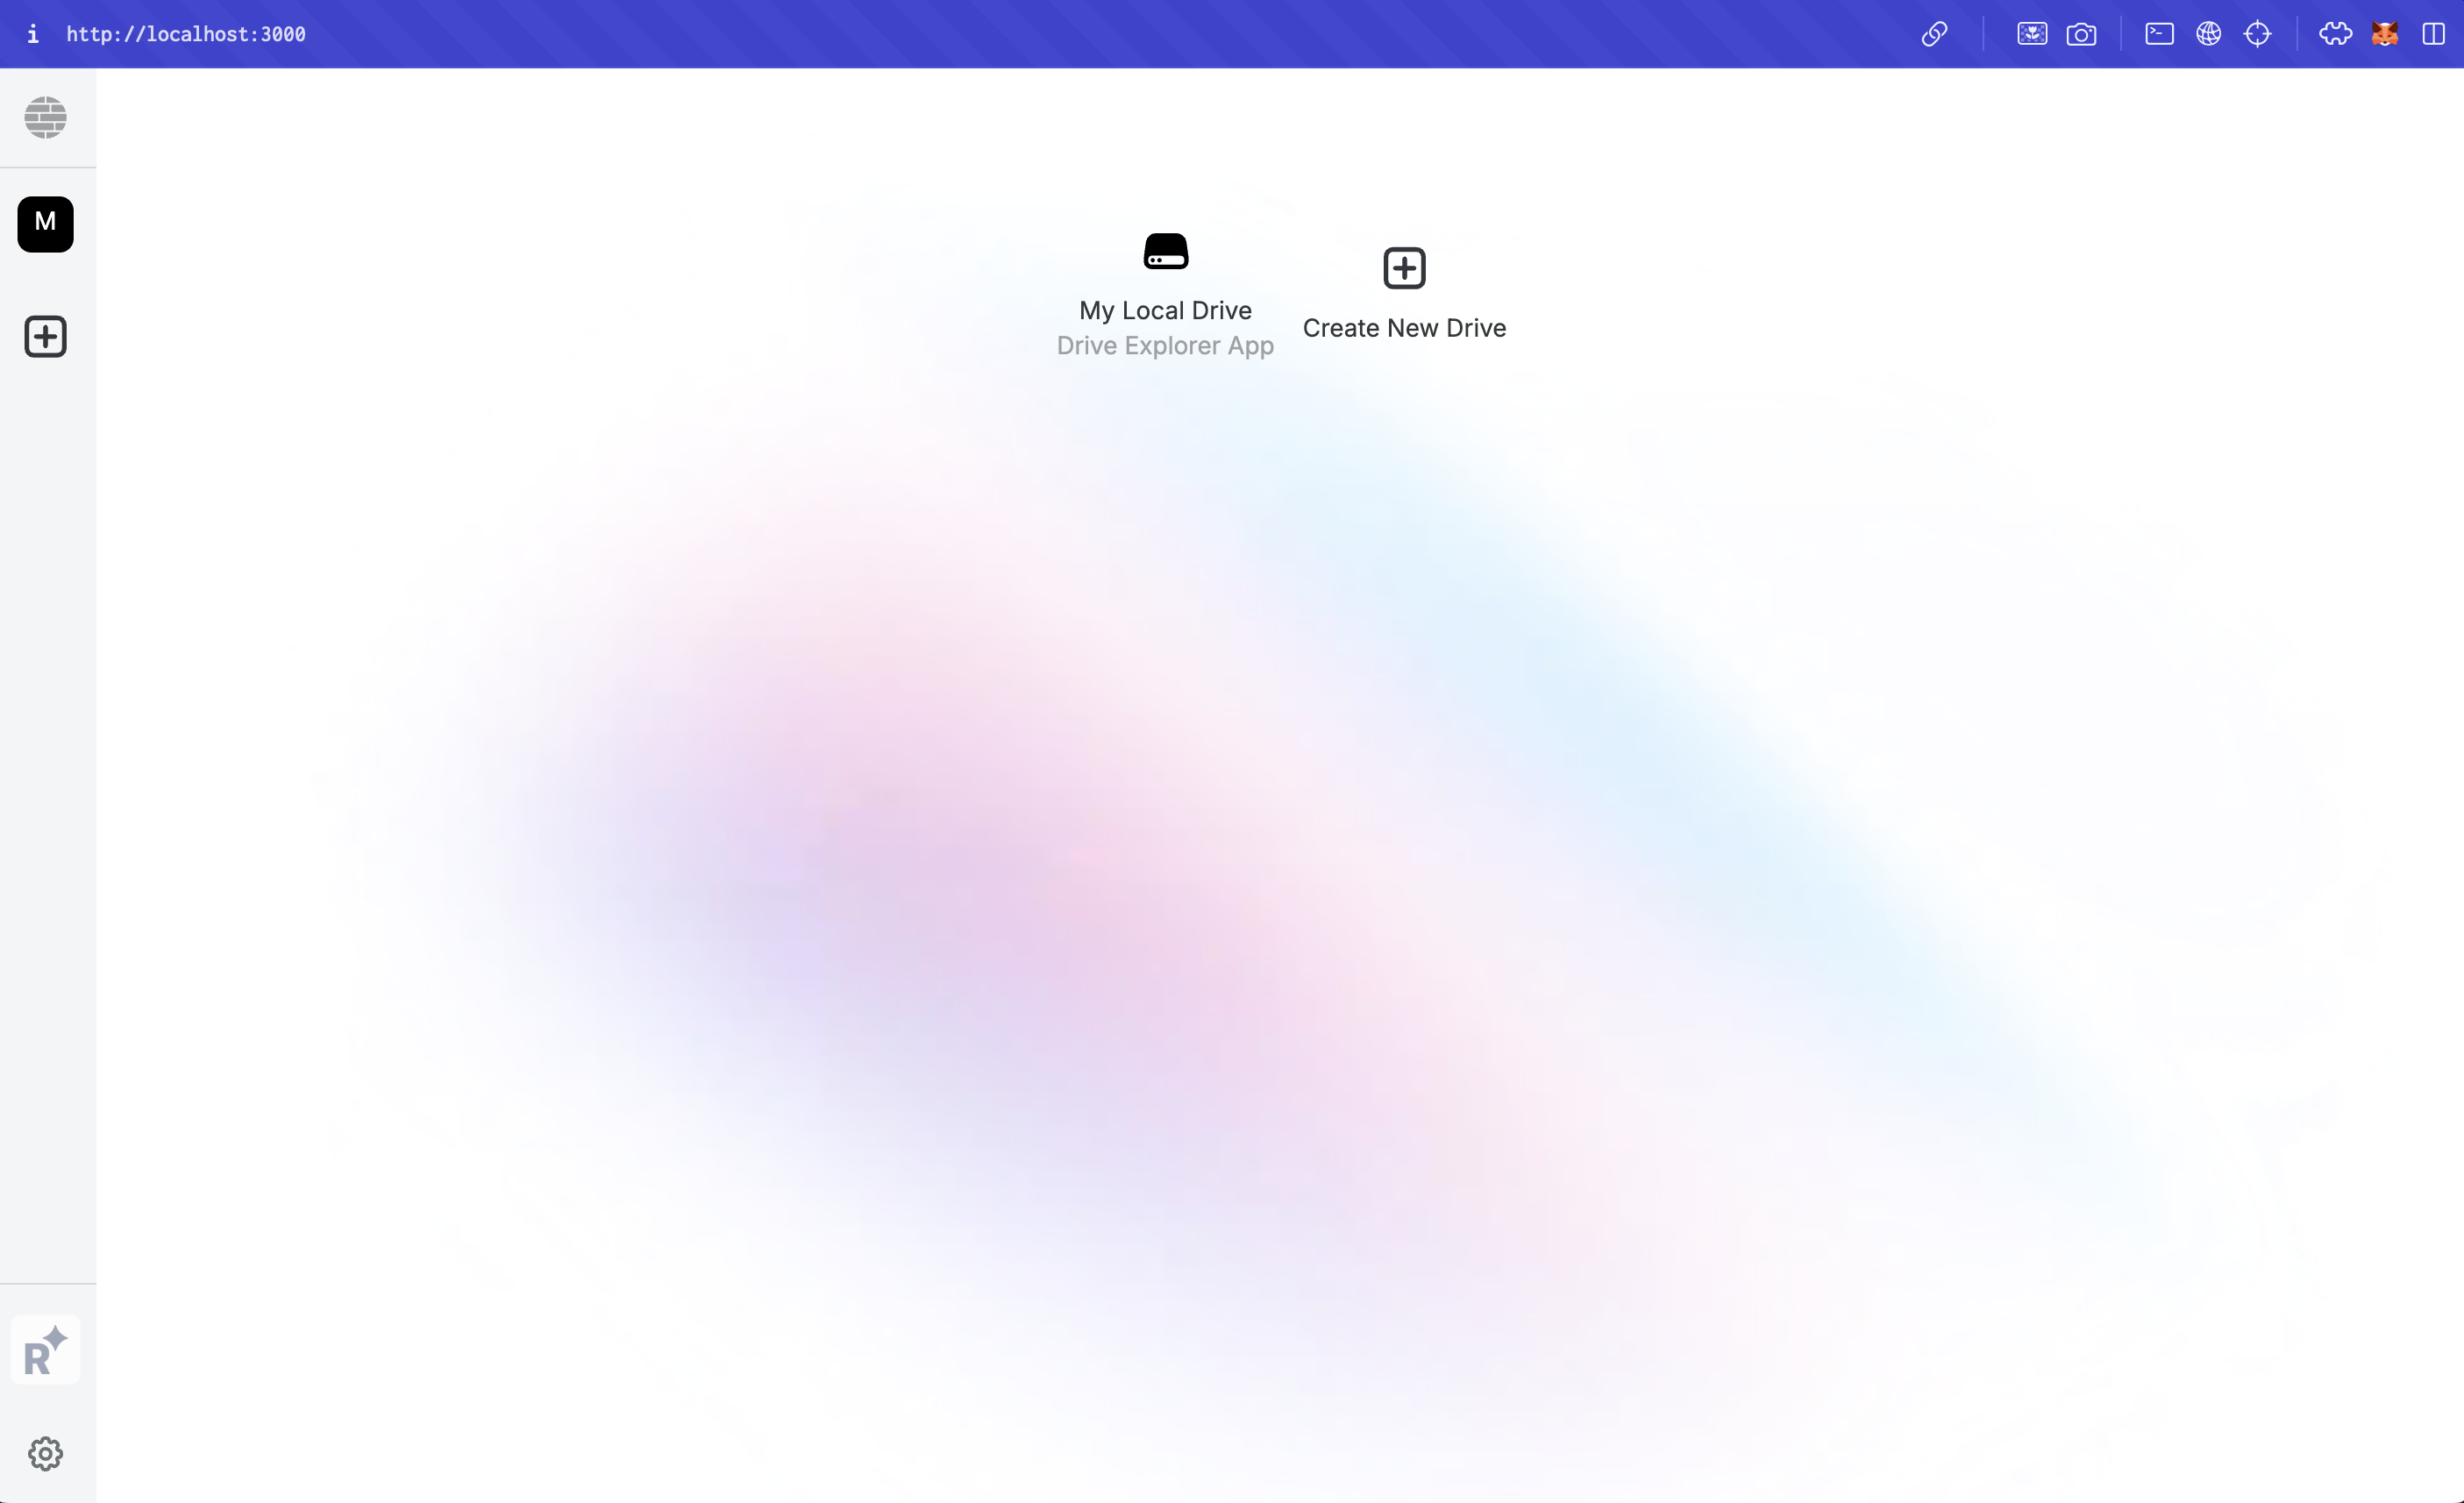
4.1 Create a local todolist app drive
First, let's create a dedicated drive for your to-do lists:
- Click the new drive icon in the interface
- In the Drive App field, select 'To-do Drive App'
- This creates a specialized drive that's optimized for to-do list documents
4.2 Create a todolist document
Now move into the drive you've just created:
- Click the button at the bottom of the page to create a new to-do list document
- This opens the to-do list editor where you can start managing your tasks
4.3 Add a few todos and inspect the document history
- Add a few to-dos that are on your mind
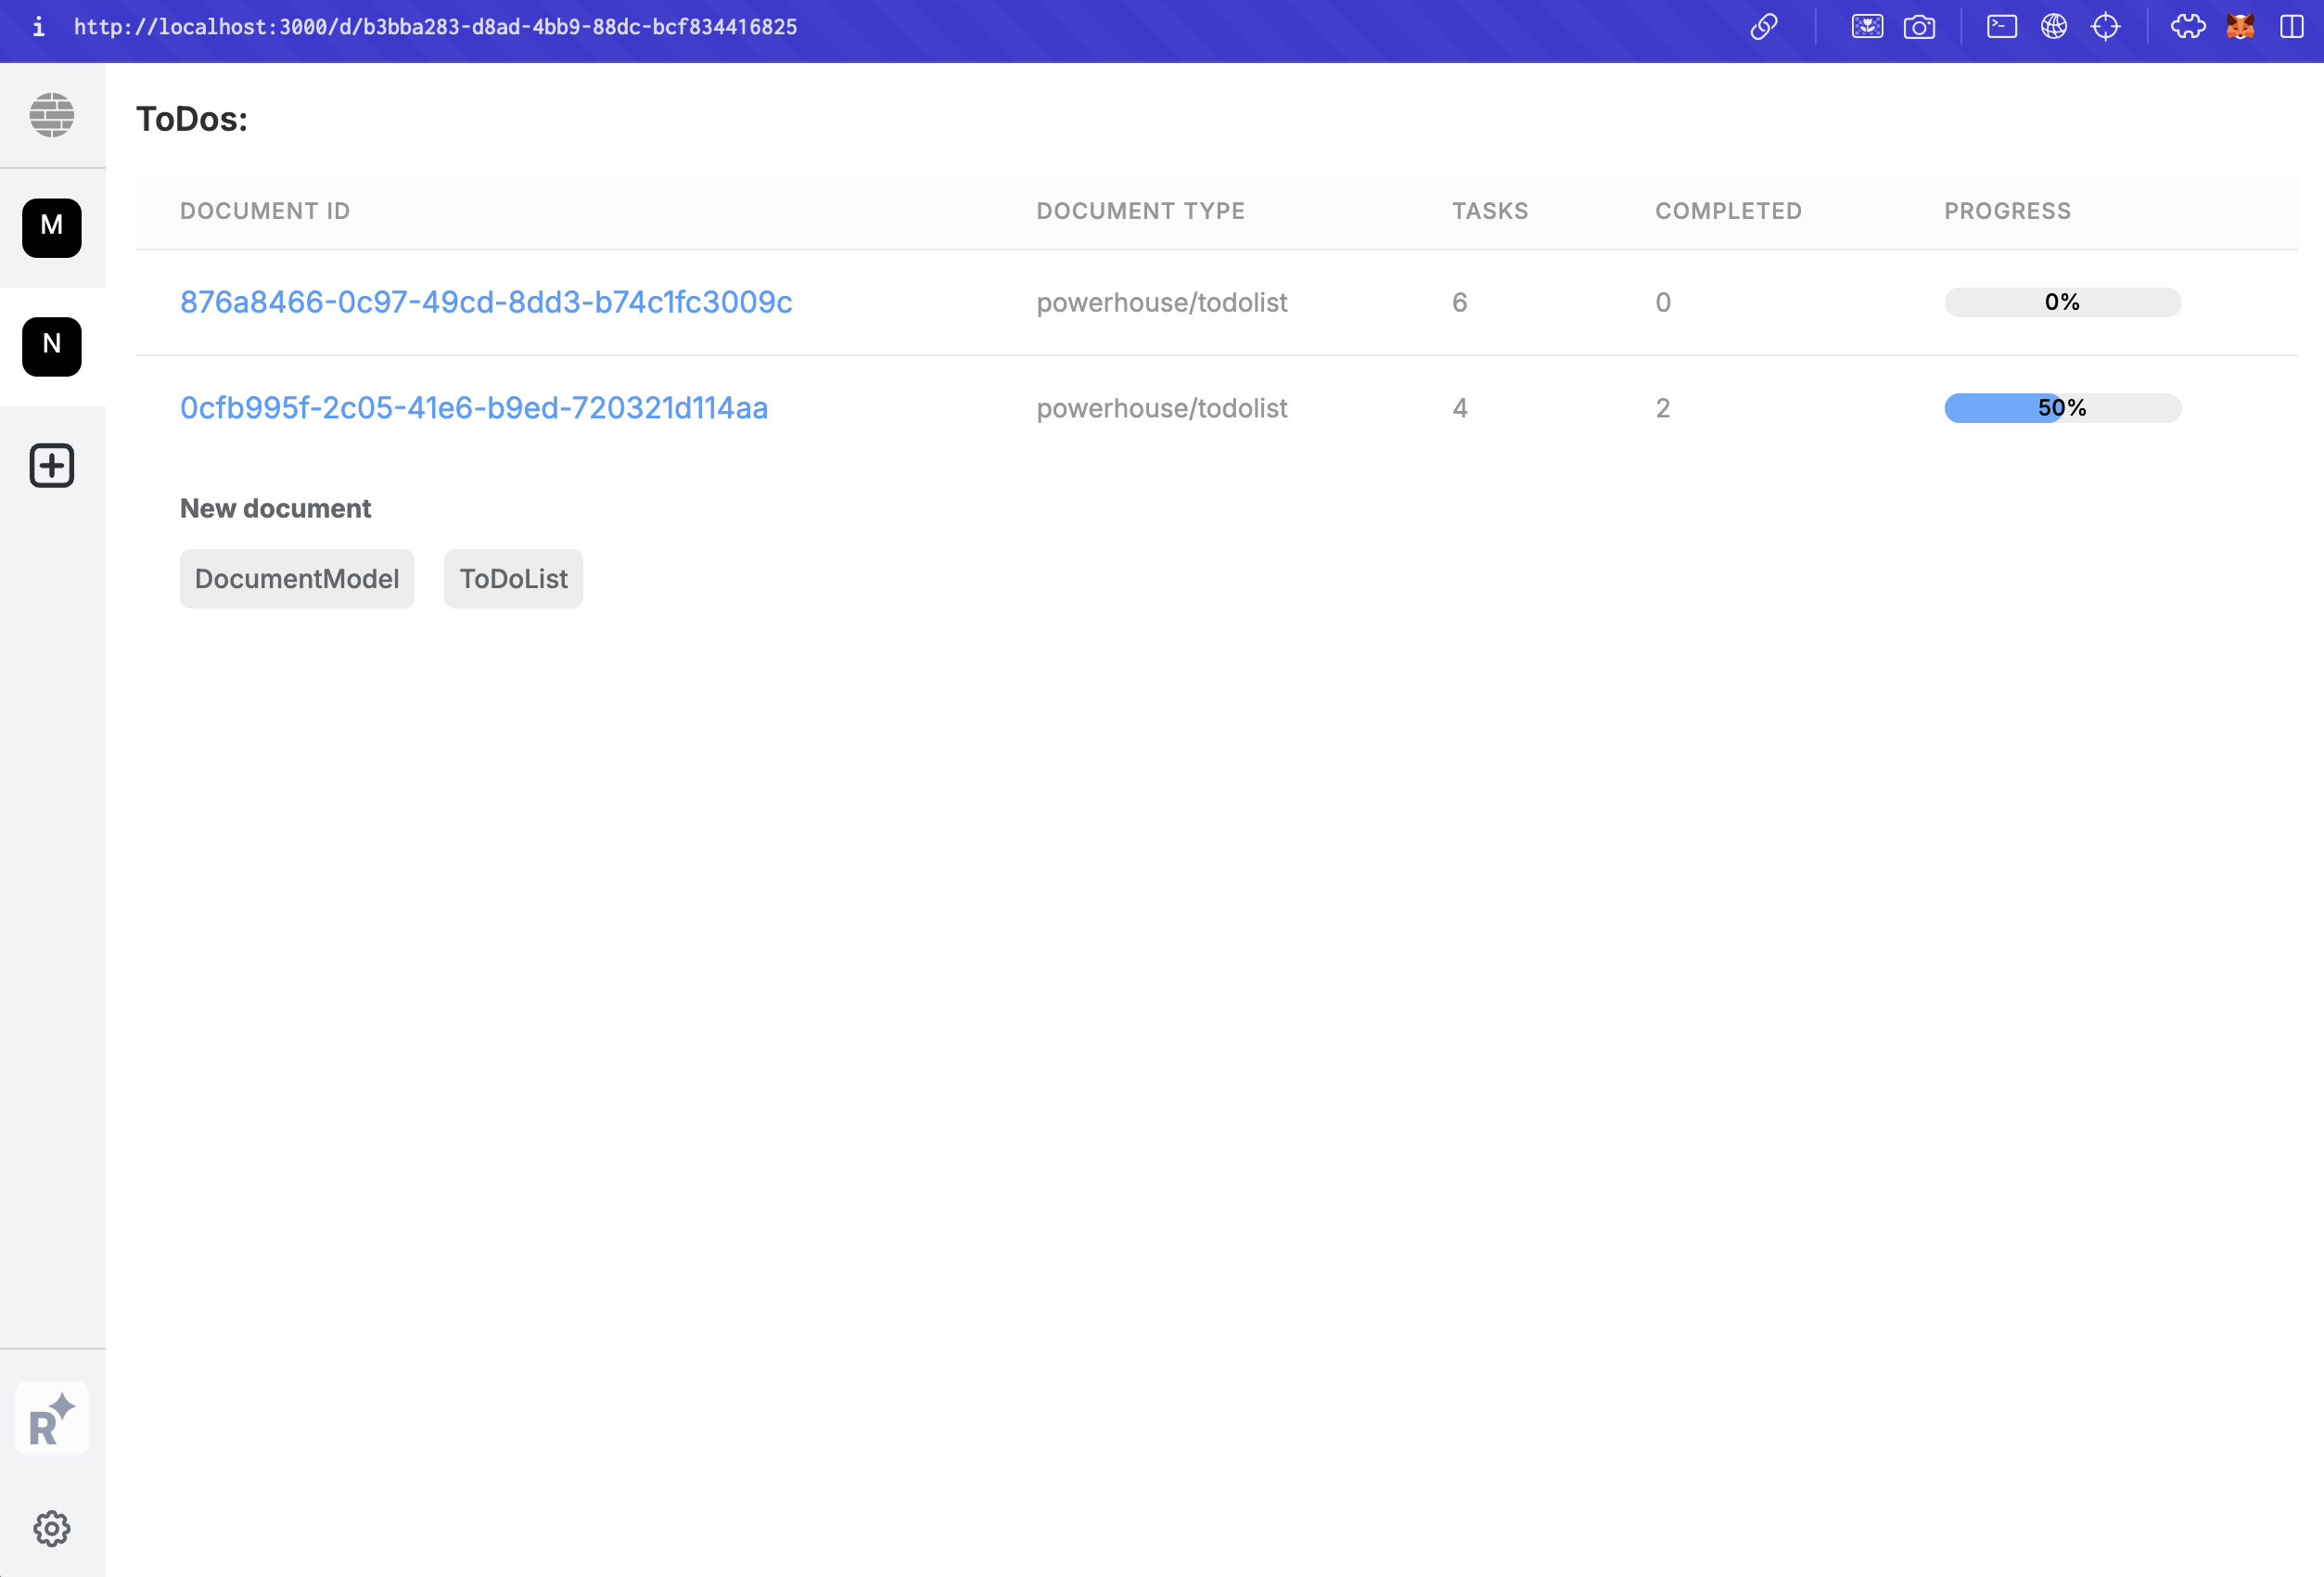
- You'll see a statistics widget that counts the open to-dos
- After closing the document, look at the To-do Drive App interface—you'll see that it tracks your tasks and displays a progress bar
This is an example of the usefulness and impact of Drive Apps.
They offer a customized interface that works well with the different documents inside your drive.
Read more about drive apps in the Mastery Track: Drive Apps and Drive Explorers.
A key feature of Connect is the Operations History. Every change to a document is stored as an individual operation, creating an immutable and replayable history. This provides complete auditability and transparency, as you can inspect each revision, its details, and any associated signatures. For example, you can see a chronological list of all modifications, along with who made them and when.
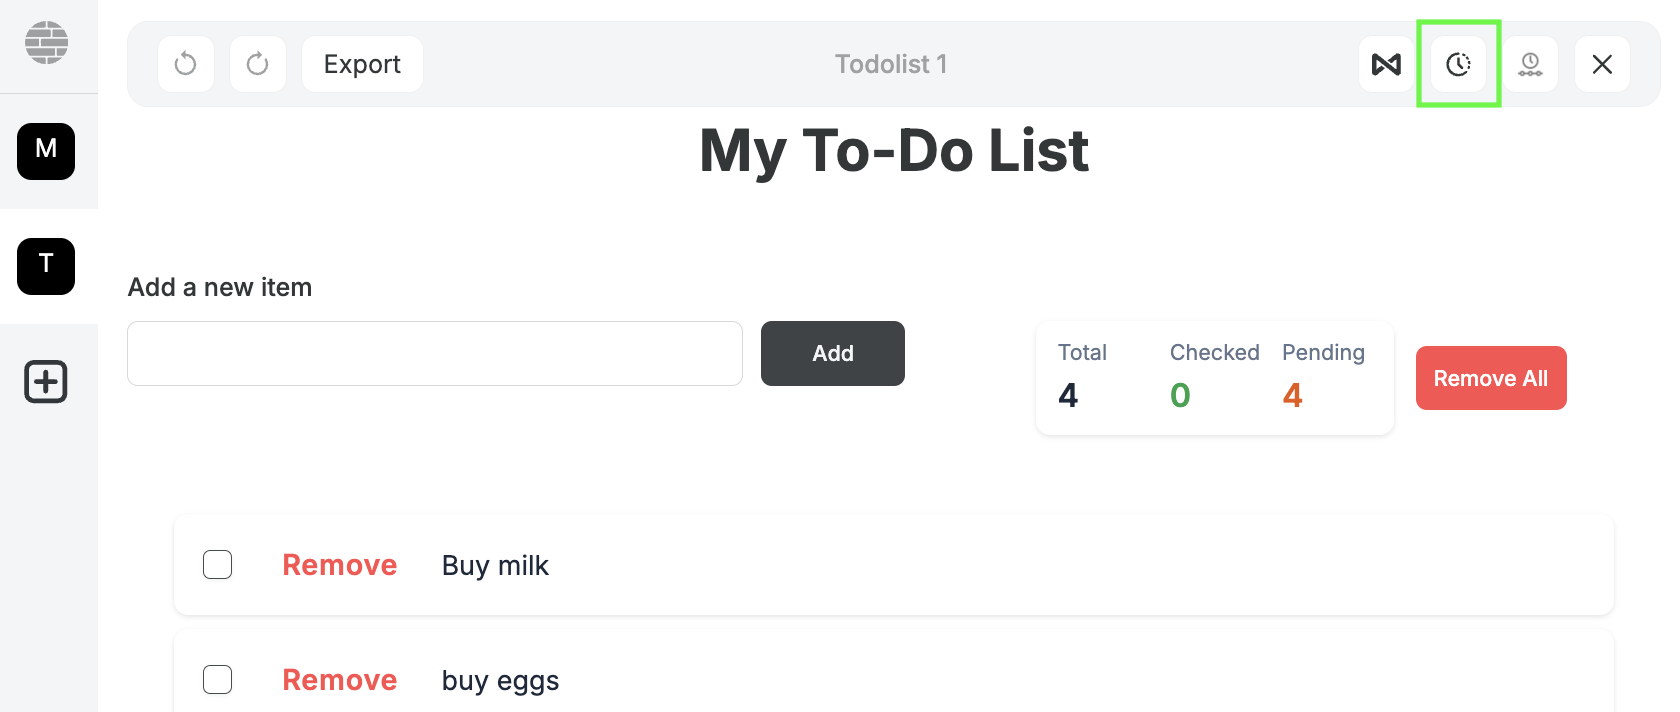
You can find the button to visit the operations history in the document model toolbar
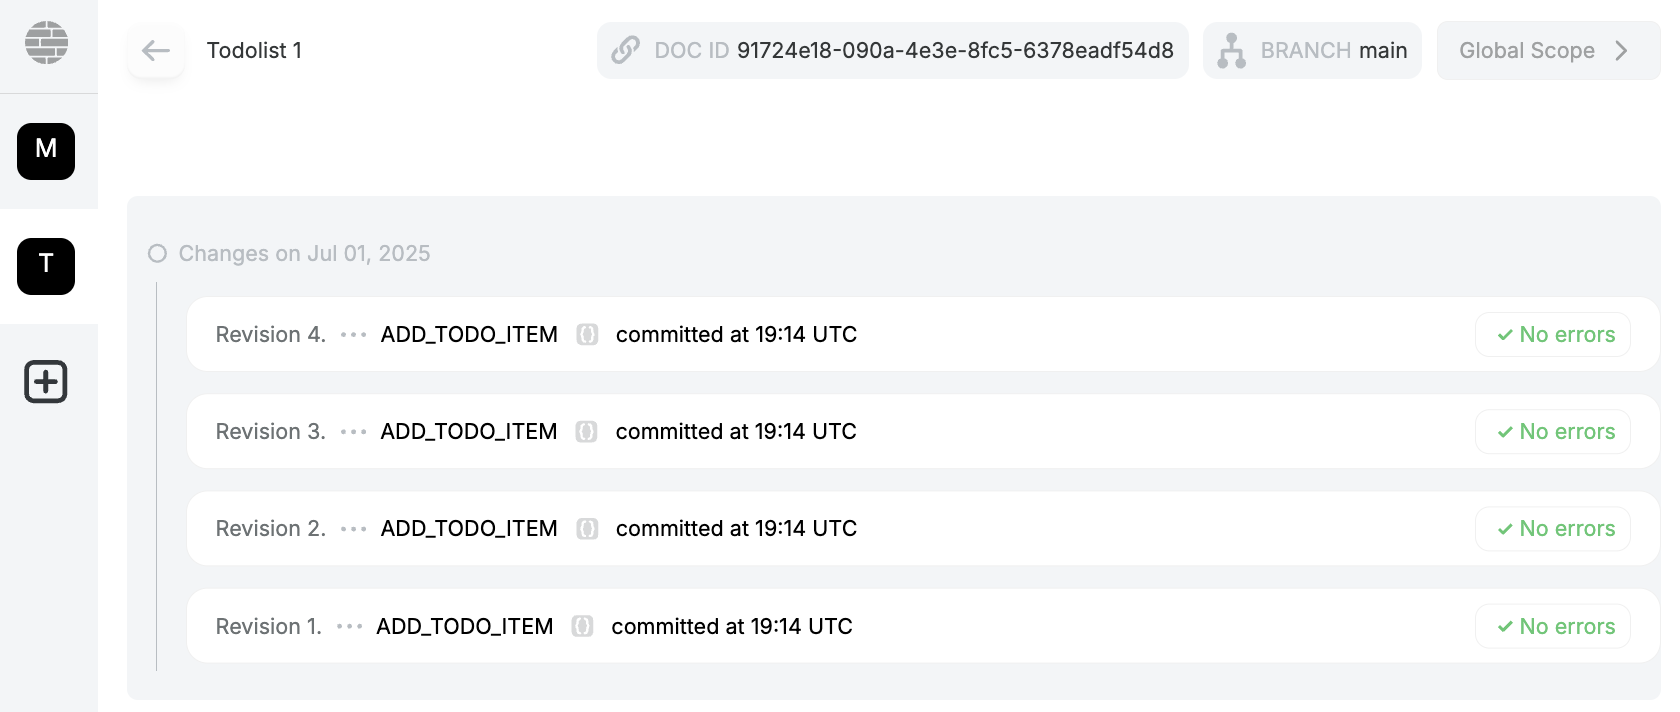
Example of the operations history for a document, showing all modifications made to it in a list.
Learn more about the Operations History and other document tools you get for free.
Step 5: Enable operation signing and verification through Renown
Renown is Powerhouse's decentralized identity and reputation system designed to address the challenge of trust within open organizations, where contributors often operate under pseudonyms. In traditional organizations, personal identity and reputation are key to establishing trust and accountability. Renown replicates this dynamic in the digital space, allowing contributors to earn experience and build reputation without revealing their real-world identities.
When signing in with Renown, use an Ethereum or blockchain address that can function as your 'identity', as this address will accrue more experience and history over time.
5.1 Click the renown icon and connect your Ethereum identity
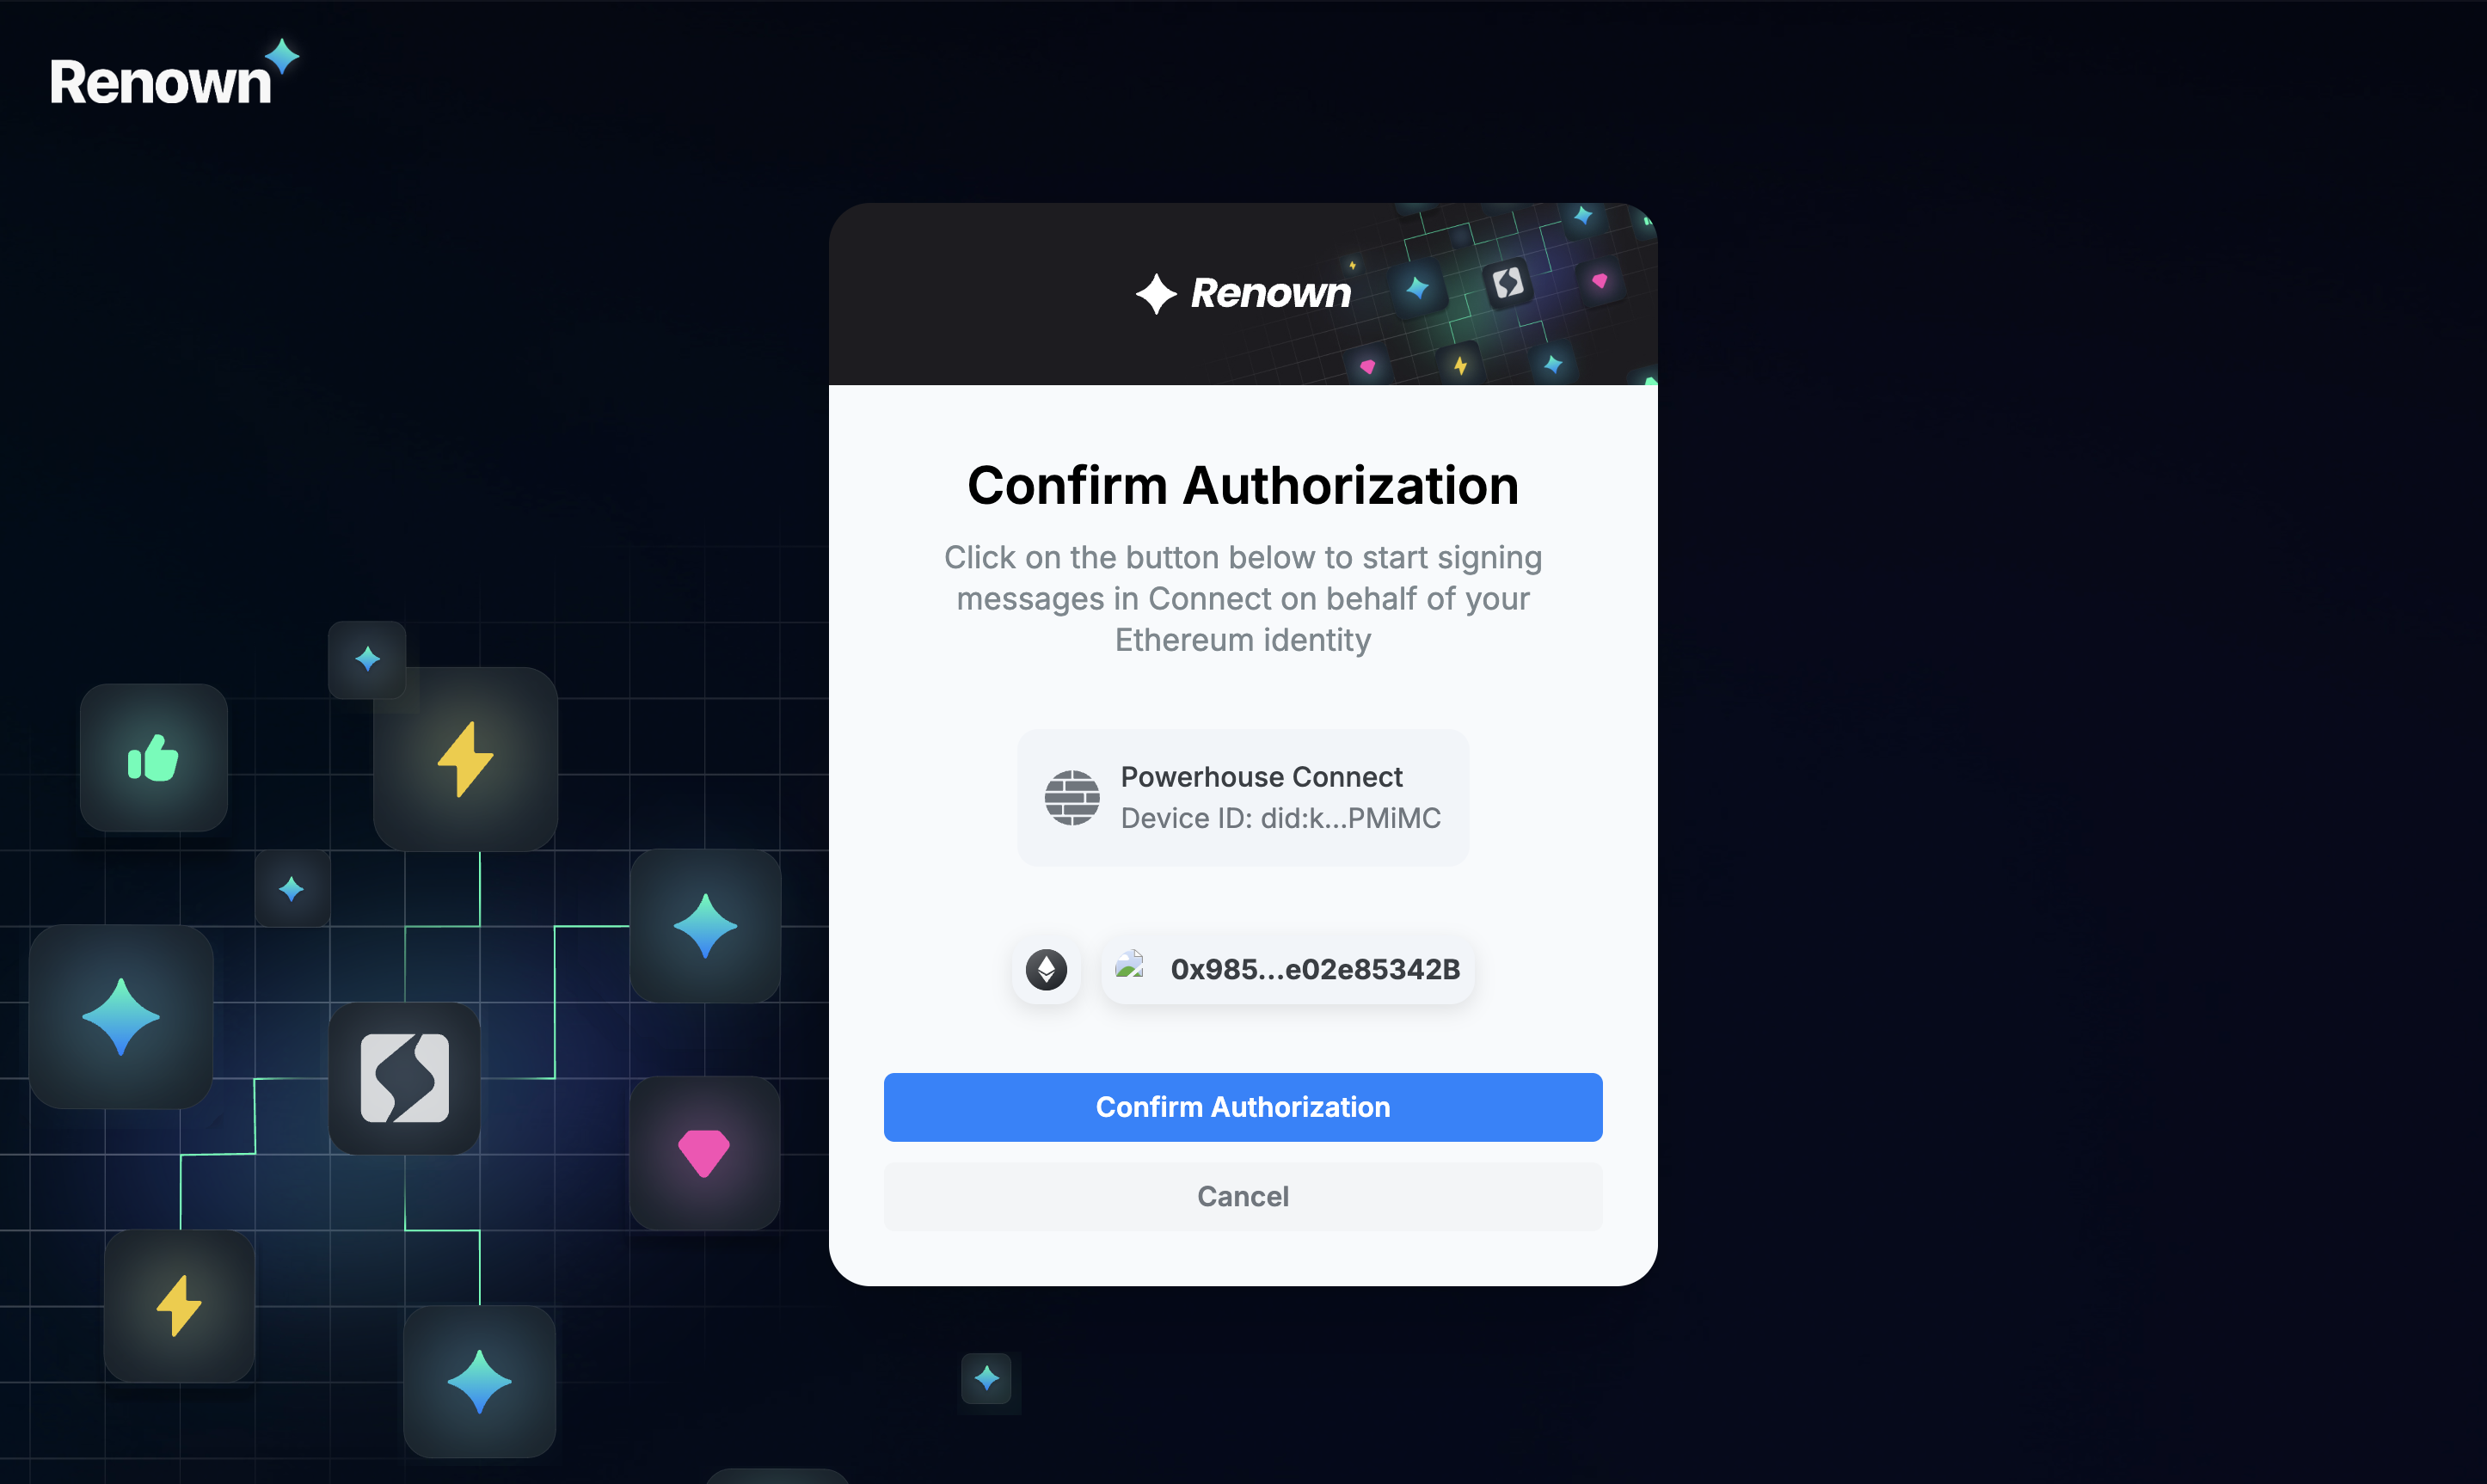
"Log in with Renown" is a decentralized authentication flow that enables you to log into applications by signing a credential with your Ethereum wallet. Upon signing in, a Decentralized Identifier (DID) is created based on your Ethereum key.

The Renown login screen, prompting for a signature from a wallet.
5.2 Authorize Connect to sign document edits on your behalf
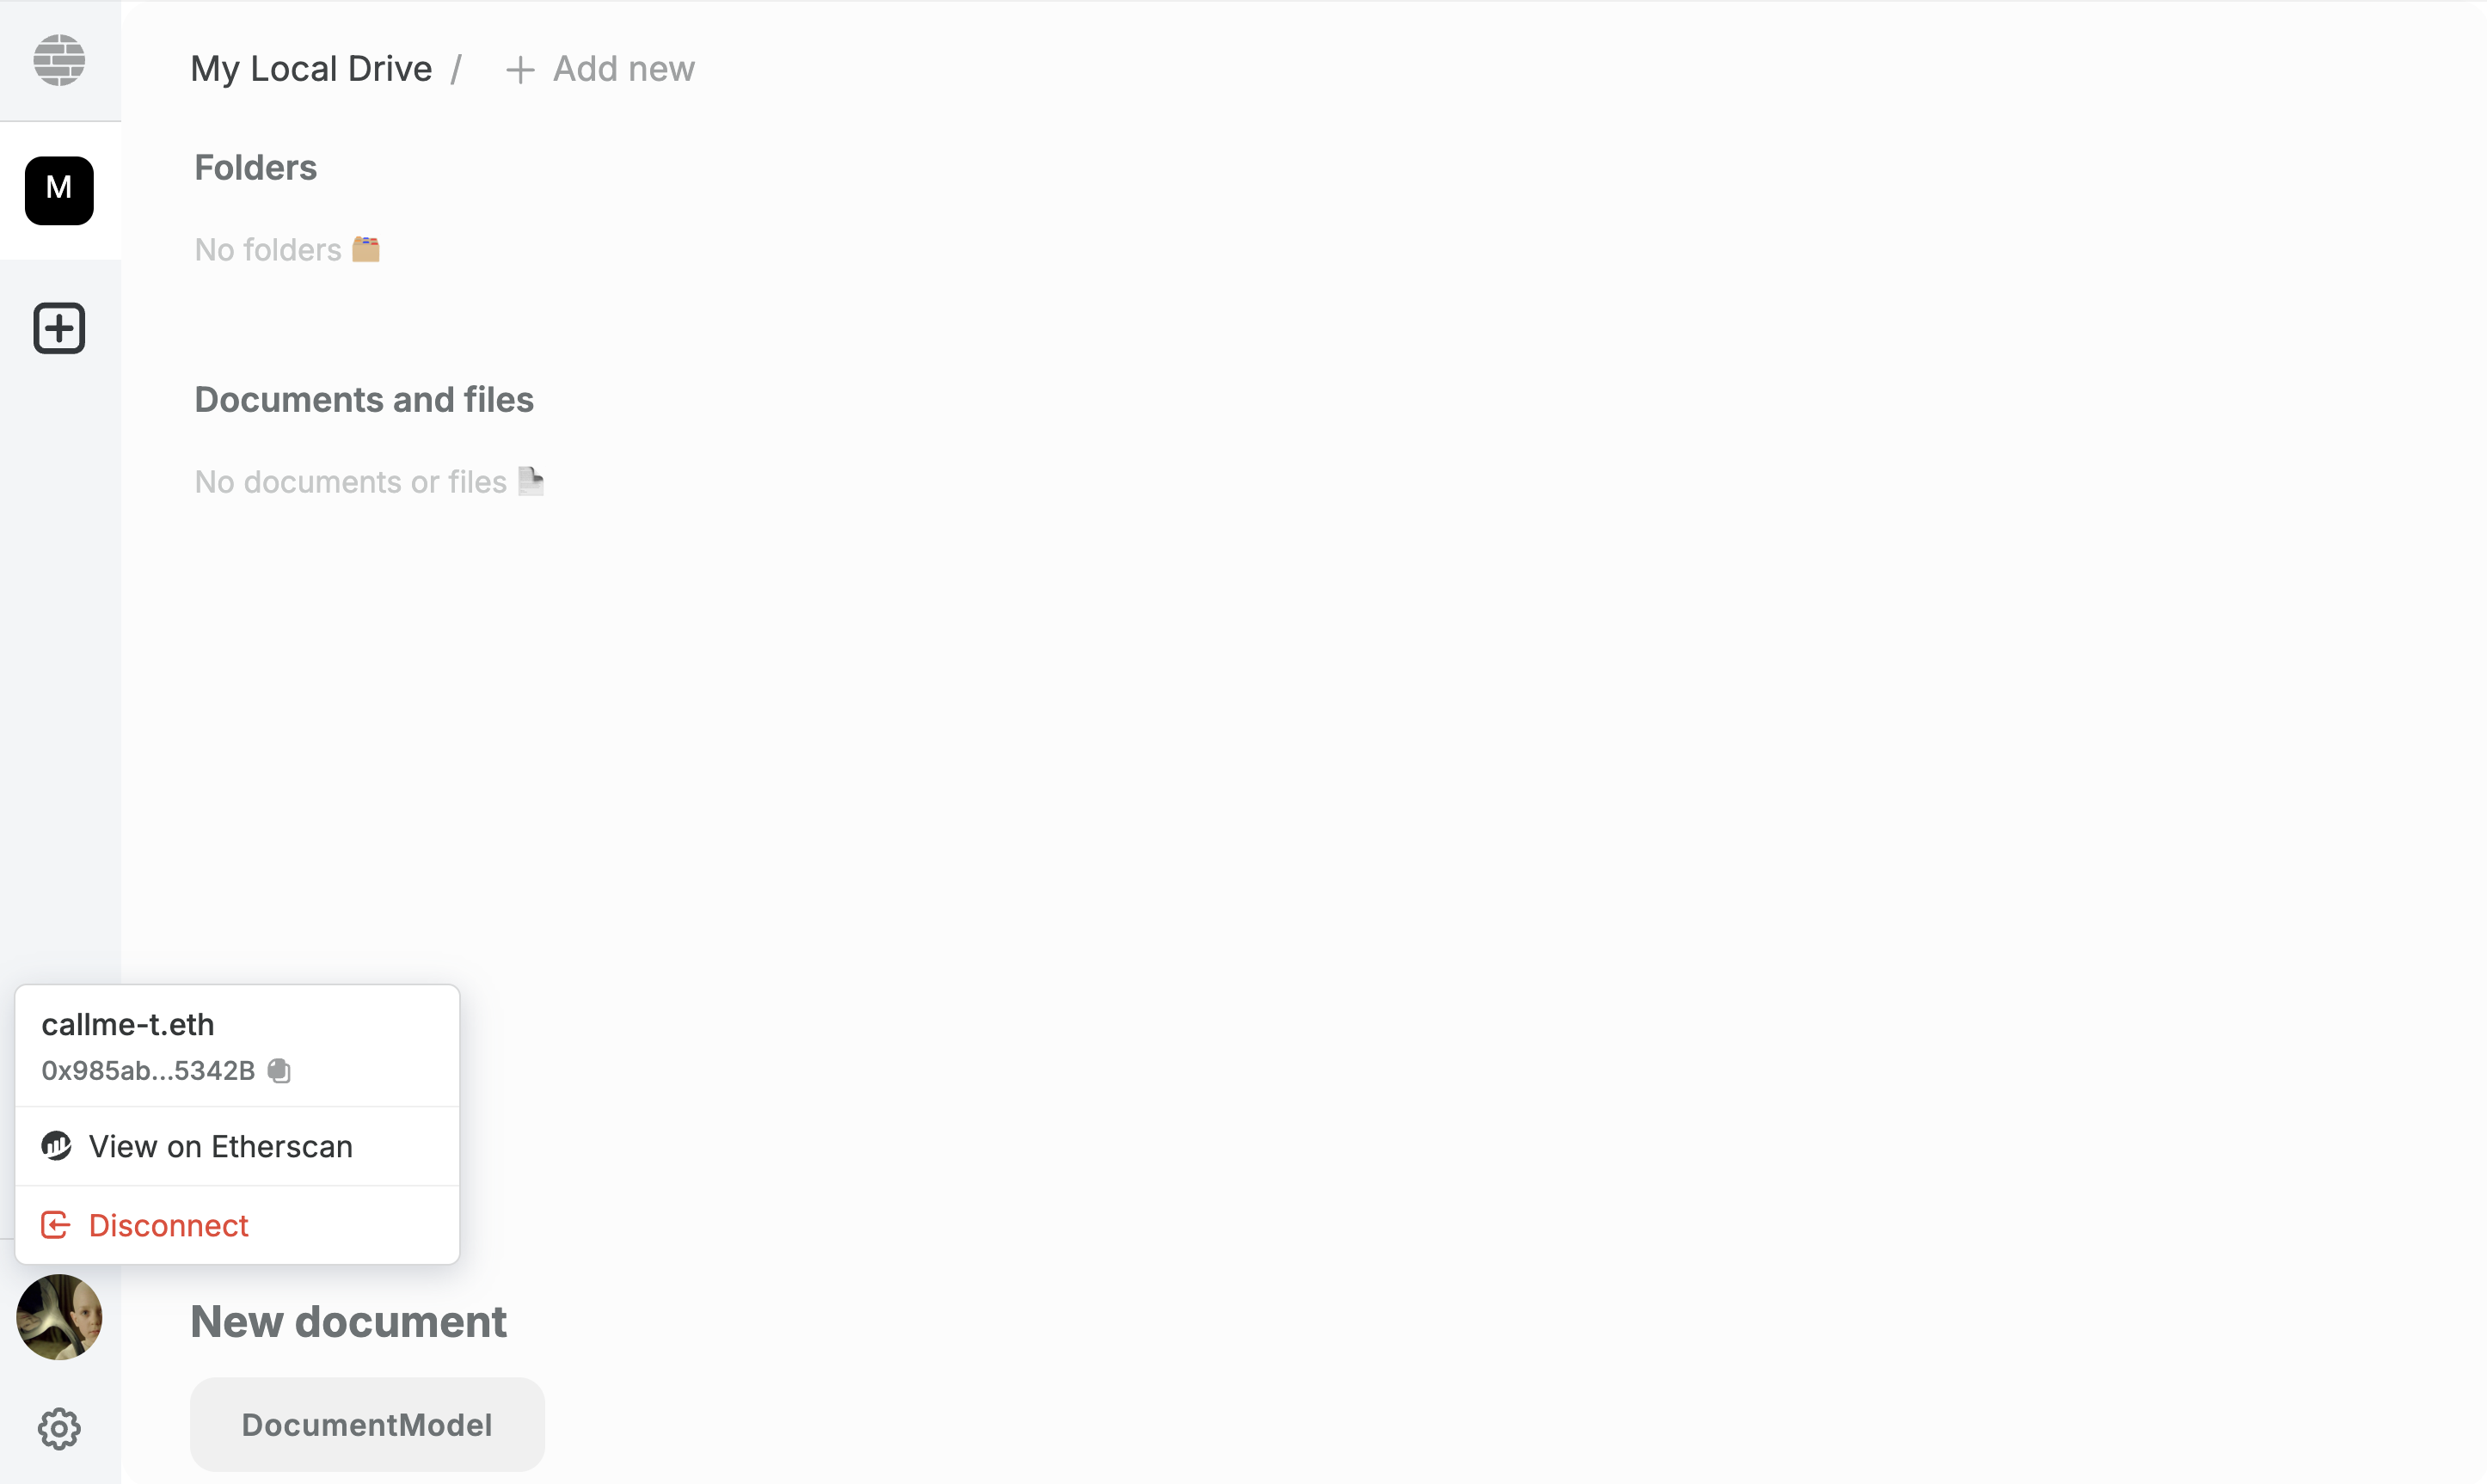
This DID is then associated with a credential that authorizes a specific Connect instance to act on your behalf. That credential is stored securely on Ceramic, a decentralized data network. When you perform actions through the Powerhouse Connect interface, those operations are signed with the DID and transmitted to Switchboard, which serves as the verifier.
A newly generated DID and address shown within the Connect interface.
5.3 Verify the signatures of new operations in the todo list
By leveraging this system, every operation or modification made to a document is cryptographically signed by the contributor's Renown identity. This ensures that each change is verifiable, traceable, and attributable to a specific pseudonymous user, providing a robust audit trail for all document activity.
Now, return to your to-do list and make some additional changes. You'll notice that these operations are now signed with your Renown identity, making every action traceable and verifiable in the operations history.
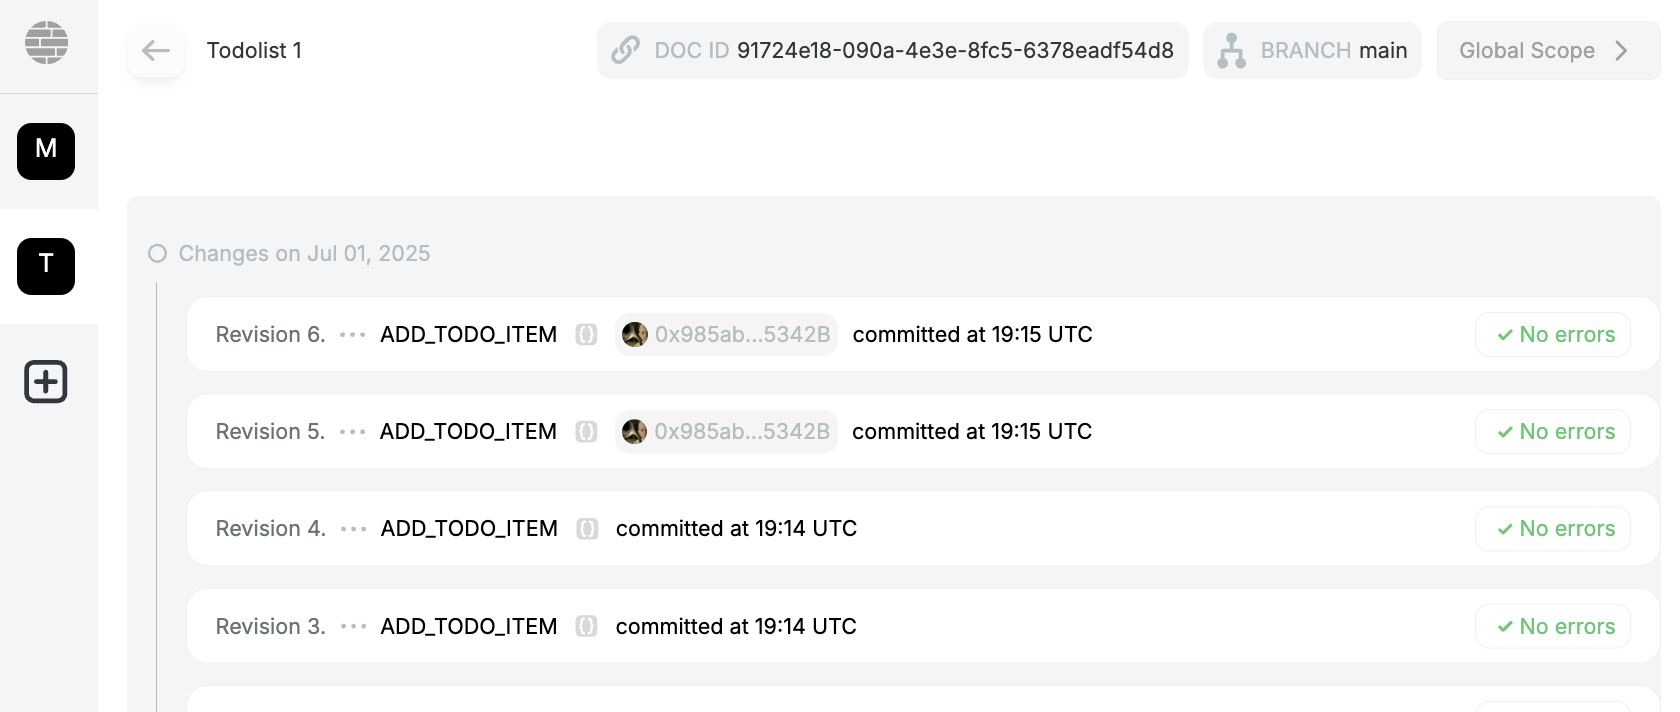
Your DID is now signing the operations that are being added to the history.
Step 6: Export a document
Export the document as a .phd (Powerhouse Document) file using the export button in the document toolbar at the top. In this toolbar, you will find all available functionality for your documents. The .phd file can be sent through any of your preferred channels to other users on your network.
Up next
Now that you have explored a Powerhouse package and discovered its basic functionalities, it is time to start building your own. Our next tutorial focuses on creating a simple to-do list document and will introduce you to the world of Document Models.